Description
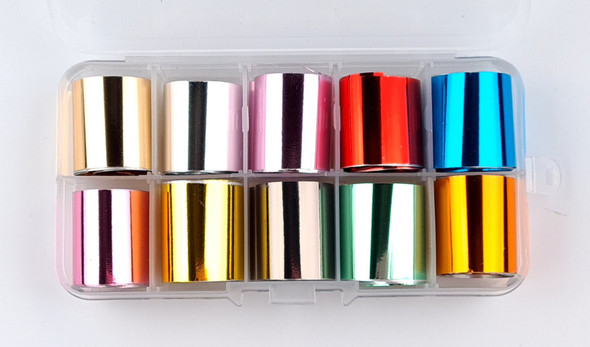
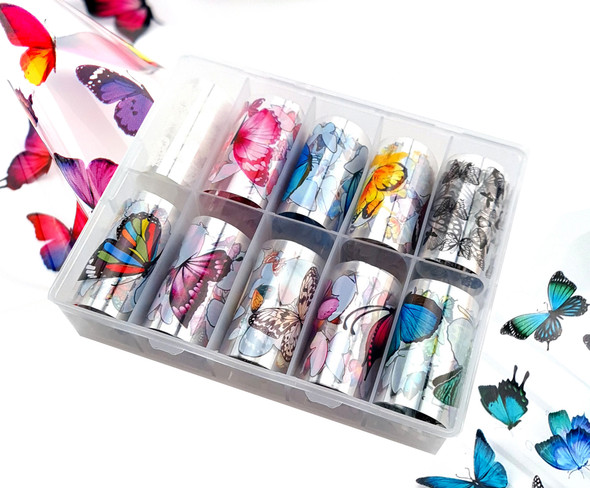
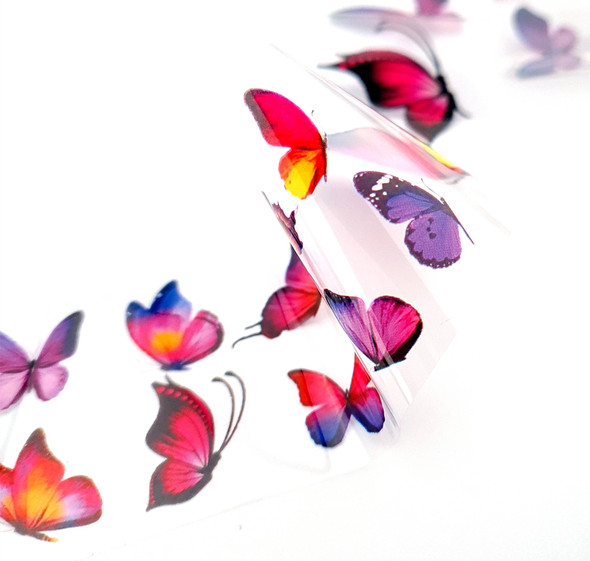
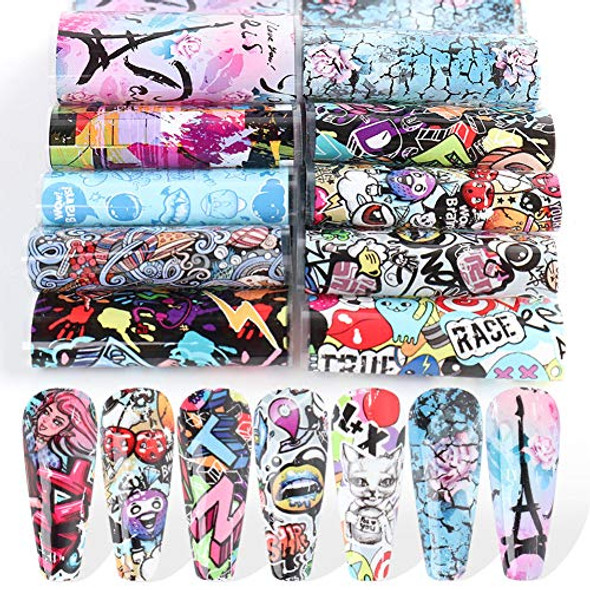
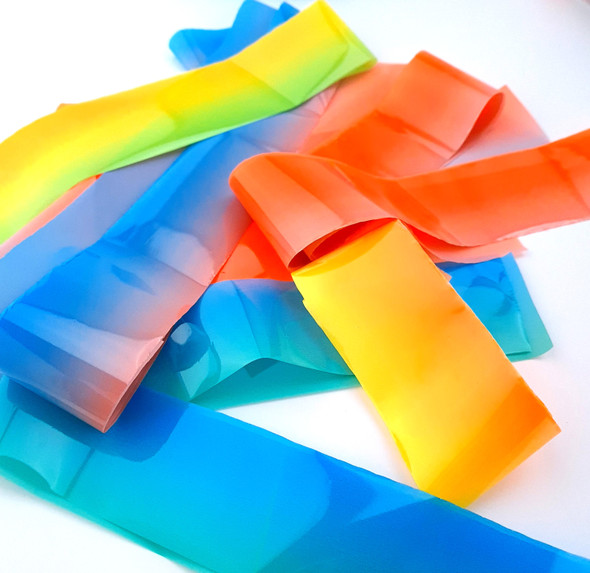
Bright Coloured Marbling Nail Art Transfer Foil Set
Just when you think you have enough nail foils.... out comes another fantastic set!
You will receive 10 different designs measuring 2.5cm X 100cm each.
For best results we do recommend using a white colour polish (for the pastel colours) or gel polish prior to applying the foil.
Nail foils can be applied in full over the natural nail or in smaller amounts to create patterns or random bursts of colour. It can be applied onto coloured nail polish, over gel polish, or over artificial nails.
*For best results please ensure you have TNS Foil Adhesive Gel (UV/LED) OR TNS Foil Adhesive & Water Based Top Coat
Full Cover Nail Application Instructions with TNS Foil Adhesive Gel:
- Prepare the nail bed by shaping, pushing cuticles back and removing all dead skin. Remove nail oils with nail cleanser or nail polish remover.
- Apply your base and colour gels as per normal. Once cured, do not remove the tacky layer.
- Cut a square of foil out which is slightly larger than the nail area. Apply a thin, even coat of TNS Foil Adhesive Gel to the coloured gel nail. Cure for 30 seconds in your UV/LED lamp. Do not remove the tacky layer.
- Press foil onto the nail bed and rub down the center and push the foil out to each side. Use a rubber silicone tool to assist compressing the foil into the gel adhesive.
- Remove the foil and the foil pattern should be stuck to your nail. If a bit is missing, repress the foil into that area.
- Apply a clear UV/LED top coat to seal the nail. We recommend the soft gel polish top coat Lac It! I'm A No-Wipe Top Coat.
Full Cover Nail Application Instructions with TNS Foil Adhesive/Glue (for Nail Polish):
- Prepare the nail bed by shaping, pushing cuticles back and removing all dead skin. Remove nail oils with nail cleanser or nail polish remover.
- Apply your base and coloured nail polish/lacquer and allow to dry.
- Cut a square of foil out which is slightly larger than the nail area. Apply a thin, even coat of nail foil adhesive to each finger. You should wait when it just tacky to the touch. In a colder climate the assistance of a UV light may also assist with drying the glue. The glue will be clear when dry.
- Press foil onto the nail bed and rub down the center and push the foil out to each side. Use a rubber silicone tool to assist compressing the foil into the glue.
- Remove the foil and the foil pattern should be stuck to your nail. If a bit is missing due to lack of foil adhesive, just reapply the adhesive to the part not taken and repeat.
- Once completely dry, apply a coat of 'water based' sealer or UV top coat (soak-off) to protect the foil. If the adhesive is not completely dry before applying the top coat, the foil will rub off.
2 Reviews
-
Nail foil
Love! Love! Love! Perfect
-
MY DAUGHTER LOVES IT..
VERY SATISFIED...


